Common Painting Errors to Avoid
Understanding common painting mistakes is crucial for any home painting project. Many DIY enthusiasts underestimate the complexities, leading to frustrating results and costly reworks. Recognizing these pitfalls early ensures a smoother process and a professional finish.
Errors range from inadequate surface preparation to incorrect paint application. These issues can compromise the longevity and appearance of freshly painted surfaces. Learning about prevalent issues helps homeowners approach projects with greater confidence. For additional insights, consider our guide on common painting mistakes for more.
Surface Preparation Mistakes
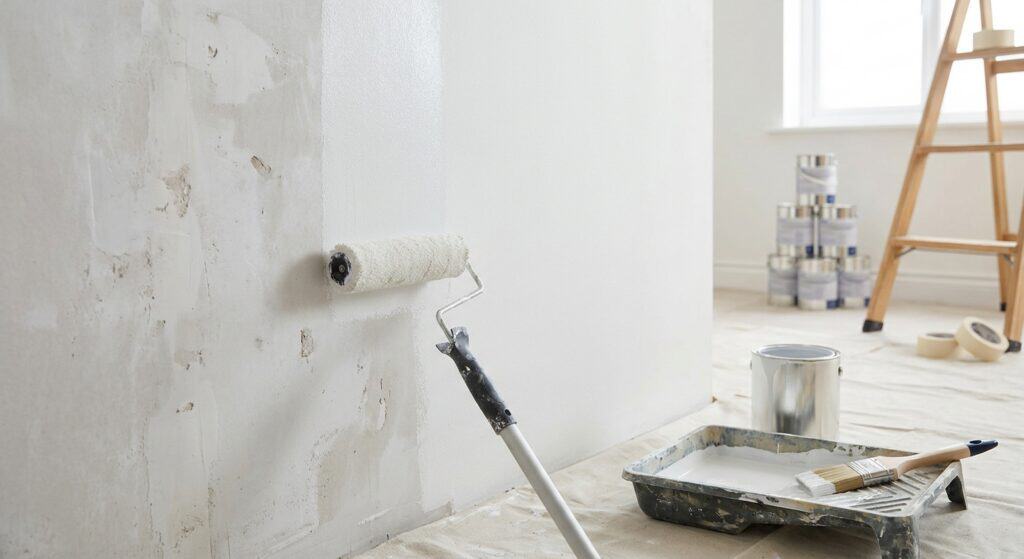
Inadequate surface preparation is one of the most significant painting mistakes to avoid, as it directly impacts the longevity and appearance of your paint job. Many homeowners rush this crucial stage, leading to frustrating issues like peeling, blistering, or uneven finishes shortly after the paint dries.
Ignoring proper preparation can turn a simple painting project into a costly repair. For more insights on common errors, explore our guide on how to properly prep walls for painting for more.
Common oversights include failing to thoroughly clean surfaces, skipping essential sanding, or neglecting to prime appropriately. Each of these steps plays a vital role in ensuring optimal paint adhesion and a smooth, professional result.
Paint Selection and Application Errors
One of the most common painting mistakes to avoid involves improper paint selection and application. Choosing the wrong type of paint for a specific surface or environment can lead to issues like peeling, fading, or poor adhesion, undermining the longevity and appearance of your project. For example, using interior paint outdoors will quickly result in damage due to weather exposure. Understanding the differences between latex and oil paints can help prevent these issues.
Beyond selecting the correct paint, application techniques play a crucial role. Over-brushing, applying paint too thickly, or uneven rolling are frequent missteps that can leave unsightly marks or an inconsistent finish. These errors not only detract from the aesthetic but also compromise the paint’s protective qualities. Understanding how to properly apply paint can prevent these frustrations, especially when considering the impact of Edmonton’s climate on exterior projects; learn more about Edmonton exterior paint climate-proofing for more.
To ensure a durable and attractive finish, it’s essential to understand top painting mistakes homeowners make and how to avoid them. Paying attention to both the type of paint used and the method of application will significantly improve your painting results, making sure your effort yields a beautiful and lasting transformation. For instance, understanding the differences between various paint types like latex vs. oil can prevent costly errors. For more information, explore our guide on latex vs. oil-based paint for more.
Cleanup and Finishing Neglect
Overlooking proper cleanup and finishing touches can diminish the overall quality of your painting project, turning a near-perfect job into one that feels incomplete. These oversights are significant painting mistakes to avoid if you want a truly polished and professional look. Many homeowners forget that the final stages are just as critical as the initial preparation and application.
Improper cleaning of tools, for instance, not only shortens their lifespan but also makes future painting tasks more difficult. Dried paint on brushes or rollers can transfer old, hardened particles onto new surfaces, creating an uneven finish. For more insights into common painting errors, you can refer to our guide on Painting Mistakes, which offers valuable comparison ideas.
Furthermore, neglecting touch-ups, removing masking tape incorrectly, or ignoring minor spills can leave noticeable flaws. Addressing these details ensures a seamless and professional result, preventing any last-minute painting mistakes to avoid that could compromise the aesthetic of your newly painted space.
DIY Painting Pitfalls
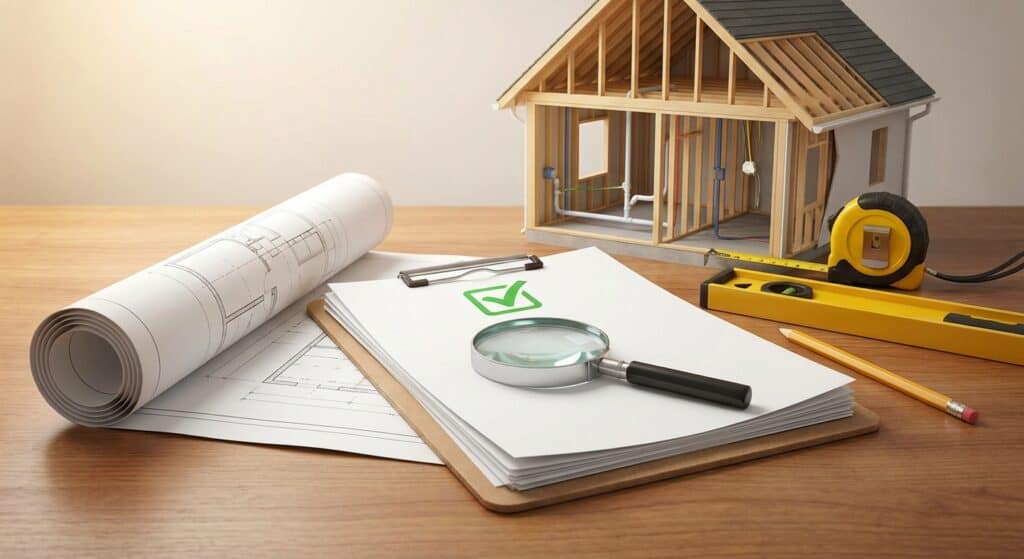
DIY painting projects can be rewarding, but they come with their own set of common painting mistakes to avoid. Many homeowners, eager to transform their spaces, often rush through critical steps, leading to less-than-ideal results. Recognizing these pitfalls before you start can save significant time and effort, and it’s also important to consider if you need to look into home renovation permits for larger projects.
One of the most frequent errors is inadequate masking. Failing to properly tape off trim, windows, and other areas can lead to messy edges and paint splatters on surfaces that should remain untouched. Another common misstep is neglecting safety precautions, such as proper ventilation or using protective gear, which can pose health risks.
To ensure a smooth and professional finish, it’s essential to understand and prevent these common painting mistakes. Taking the time for meticulous preparation and safe practices will ultimately enhance the quality and longevity of your DIY painting project. For those considering a professional touch, exploring local pros vs DIY house painting can offer valuable insights.
Benefits of Professional Painting
Hiring professional painters offers significant advantages, particularly in preventing the common painting mistakes that often plague DIY projects. Our team brings years of experience and specialized knowledge to every job, ensuring a flawless finish that lasts longer and looks superior to amateur attempts.
Professionals have the right tools and techniques to handle complex surfaces and achieve smooth, even coats, eliminating issues like drips, brush marks, and uneven coverage. This expertise translates into efficient project completion and a high-quality result that enhances your home’s appearance and value.
Homeowners often overlook the importance of meticulous prep work, leading to premature paint failure and costly rework. Understanding the common painting mistakes to avoid is crucial for a successful outcome, and professional painters are equipped to prevent these errors from the outset, offering valuable house painting advice strategies for more.
Paint Quality and Tool Errors
Using low-quality paint and inadequate tools are common paint type mistakes that can significantly compromise the final look and durability of your project. Understanding the differences between various paint formulations, such as those detailed in our paint types comparison, is crucial for selecting the best option for your specific needs.
Investing in quality paint ensures better coverage, richer color, and enhanced longevity, while appropriate tools make the application process smoother and more efficient. Overlooking these aspects can lead to frustrating results and necessitate costly repaints sooner than expected.
The Impact of Low-Quality Paint
Choosing cheap paint might seem like a way to save money, but it often results in needing more coats, uneven finishes, and premature fading or chipping. Low-quality paints typically have fewer pigments and binders, which affects their hiding power and resilience. This can lead to a less vibrant appearance and a finish that doesn’t stand up well to everyday wear and tear, which is why understanding painting vs wallpaper is important for your home’s aesthetic.
Essential Painting Tools for Success
Having the right tools is fundamental for any painting project, helping to avoid many common painting mistakes. Key items include high-quality brushes for precise edging, durable rollers for smooth application on larger surfaces, and sturdy paint trays. Additionally, painter’s tape ensures clean lines, while drop cloths protect floors and furniture. For a comprehensive overview of potential pitfalls, consult our Edmonton painting services guide to help you make informed decisions.
Consequences of Inadequate Tools
Using worn-out or incorrect tools can lead to various issues, such as streaks, brush marks, and uneven paint distribution. For example, a poor-quality roller might shed fibers into your paint, or a flimsy brush could leave bristles on your wall. These minor tool deficiencies accumulate into significant visual flaws, making your paint job look unprofessional, which is why many homeowners opt for professional deck and fence staining services to ensure a flawless finish.
Step-by-Step Error Avoidance Guide
Achieving a flawless paint job demands a systematic approach to prevent common painting mistakes. By following a structured guide, you can ensure each phase of your project is executed with precision, leading to a professional and durable finish.
Understanding the key stages and potential pitfalls is crucial for both DIY enthusiasts and those overseeing a painting project. This step-by-step process is designed to minimize errors and maximize the quality of your results, whether you’re considering hiring local house painting pros or tackling it yourself.
Thorough Surface Preparation
Before any paint touches the wall, ensure your surfaces are meticulously clean, dry, and smooth. This involves washing off dirt, filling holes, and sanding rough patches. Proper preparation is the foundation for paint adhesion and a uniform finish. For more details, see our quick guide to prepping walls, which is part of our comprehensive Edmonton home painting services for more.
Proper Priming
Applying the right primer is a critical step often overlooked. Primer seals the surface, blocks stains, and provides a consistent base for the topcoat. Skipping this can lead to patchy coverage and poor color true-ness, as detailed in our guide to common painting mistakes to avoid.
Careful Paint Selection
Choosing the correct type of paint for your specific surface and environment is paramount. Consider factors like durability, sheen, and whether it’s for interior or exterior use. For more insights, our article on paint types comparison offers valuable advice for your commercial painting project.
Precise Application Techniques
Even the best paint can look subpar if applied incorrectly. Use appropriate brushes and rollers, maintain a wet edge, and apply thin, even coats. Avoid overloading your tools, which can lead to drips and runs, and allow adequate drying time between coats. Considering the impact of your choices, understanding exterior paint color psychology can also be beneficial.
Meticulous Cleanup
The final stage involves careful cleanup of tools, masking tape removal, and immediate attention to any spills or splatters. Proper cleanup ensures a neat finish and protects your investment in quality tools. For more on preparing surfaces, check out our guide to prepping walls before you begin. Neglecting this step can leave behind unsightly marks.
Mistake vs. Solution Comparison
Understanding common painting mistakes and their solutions is crucial for achieving a professional finish. Many DIY painters encounter similar challenges, but with the right knowledge, these can be easily prevented or corrected. This comparison highlights typical errors and provides clear, actionable advice to ensure your project runs smoothly.
By contrasting common pitfalls with effective strategies, you can minimize frustration and costly rework. This section reinforces the importance of avoiding errors for a successful outcome. For a deeper dive into preventing errors, consider reviewing our guide on common painting mistakes. If you’re considering a large project, you might also want to look into hiring professional commercial painters in Edmonton at Commercial Painters Edmonton Contract for more.
| Common Painting Mistake | Effective Solution |
|---|---|
| Skipping surface preparation | Always clean, sand, and prime surfaces thoroughly before painting to ensure proper adhesion and a smooth finish. Learn more about how to prep walls for painting. |
| Using the wrong type of paint | Research and select the appropriate paint for your specific surface and environment (e.g., exterior vs. interior, high-moisture areas). Consider a comparison of paint types. |
| Applying too much paint at once | Apply multiple thin coats rather than one thick coat to prevent drips, streaks, and uneven drying. |
| Ignoring proper ventilation | Ensure good airflow by opening windows or using fans to disperse fumes and aid in faster, more even drying. |
| Not protecting surrounding areas | Use painter’s tape, drop cloths, and plastic sheeting diligently to protect floors, furniture, and trim from paint splatters. |
Conclusion: Mastering Your Paint Project
Understanding and avoiding common painting mistakes is crucial for achieving a professional and lasting finish on any project. From inadequate surface preparation to improper paint application and neglecting cleanup, each error can compromise the final outcome. By learning from these common pitfalls, you can ensure your painting efforts are both efficient and effective.
Careful planning and execution are your best allies in preventing frustrating and costly errors. Taking the time to properly prepare surfaces, select the right materials, and apply paint with precision will pay dividends in the long run. Remember, a successful paint job is not just about the final coat, but the meticulous steps taken beforehand.
If you’re looking to prevent the top painting mistakes to avoid, consider leveraging professional expertise. Our team can help you navigate complex projects and deliver a flawless finish, ensuring your space looks its best by providing expert advice on how to prep walls for painting, and whether to use latex vs oil-based paint.