Clean the Walls Thoroughly
Before applying any paint, ensure your walls are clean and free of dust, dirt, grease, and cobwebs. A mild detergent solution or a specialized wall cleaner can be used. For stubborn stains or mildew, a bleach-and-water solution might be necessary, but always test in an inconspicuous area first. For a more in-depth understanding of surface preparation, consider our guide on paint primer use and its importance.
Dust and grime prevent paint adhesion. Use a mild all-purpose cleaner with water to wipe down all wall surfaces. For stubborn grease, a stronger degreaser may be necessary. Rinse walls with clean water to remove residue and allow them to dry completely.
Inspect and Repair Imperfections
Examine walls for holes, cracks, or dents. Fill small imperfections with spackle or lightweight joint compound. For larger damage, apply patching compound or consider professional drywall repair services. Allow all repairs to dry fully. If you are planning a larger project, understanding the exterior paint cost can help with budgeting.
Sand and Smooth Surfaces
Once repairs are dry, sand patched areas until flush with the wall. Use fine-grit sandpaper (120-180 grit) to smooth rough spots. After sanding, wipe walls with a damp cloth to remove all dust, as particles affect paint adhesion. For more specialized finishes, consider the benefits of professional cabinet painting services for more.
Prime the Walls
Applying a high-quality primer is essential, especially over darker colors, repaired patches, or new drywall. Primer seals porous surfaces, promotes better paint adhesion, and ensures a uniform topcoat. For specific needs like cabinet refinishing, specialized primers might be required. Learn more about paint primer use and when it’s most beneficial. Allow primer to dry completely.
Addressing Common Wall Surface Issues
Addressing common wall surface issues is a critical step to ensure a smooth and lasting paint finish. Neglecting these problems can lead to an uneven appearance and compromised paint adhesion. Proper preparation, including repairing holes and cracks and dealing with grease, ensures the wall surface is in optimal condition before painting begins. Understanding the differences between paint finishes can also help achieve the desired look; explore our guide to paint finishes for more.
| Common Wall Issue | Recommended Solution |
|---|---|
| Small Holes & Nail Pops | Fill with spackle, sand smooth, then prime. Learn more about how to fix cracks in walls and similar minor imperfections. |
| Cracks (Hairline to Moderate) | Widen slightly, clean, fill with joint compound or spackle, sand, and prime. |
| Grease & Grime Buildup | Clean thoroughly with a degreaser or a mild detergent solution. Rinse with clean water. |
| Peeling or Chipping Paint | Scrape loose paint, sand edges smooth, and prime the exposed areas. Our painting services always include this crucial step. |
| Mildew or Mold | Wash with a solution of bleach and water (1:3 ratio), then rinse thoroughly. Ensure proper ventilation. |
Repairing Holes and Cracks
Successfully repairing holes and cracks is fundamental to achieve a flawless finish. Even minor imperfections can become glaringly obvious once new paint is applied. For small holes, such as those left by nails or screws, a lightweight spackle is usually sufficient. For more significant damage, consider hiring professional painters who have the expertise to handle larger repairs.
For larger holes or significant cracks, you might need to use joint compound and patching tape. Always allow fillers to dry completely according to manufacturer instructions. Once dry, sand the repaired area until it is smooth and flush with the rest of the wall, then wipe away any dust. When choosing a painting company, consider a thorough comparison of options.
Dealing with Grease and Grime
Grease and grime are common adversaries to a smooth paint finish, especially in kitchens or high-traffic areas. These residues can prevent new paint from adhering properly, leading to peeling or an uneven texture. Thoroughly cleaning these surfaces is non-negotiable, and understanding local requirements can also be helpful, as some projects may require home renovation permits before you begin.
Start by wiping down affected areas with a degreasing cleaner or a solution of mild detergent and warm water. For tougher grease, consider a specialized degreaser product. Always rinse the walls thoroughly with clean water to remove any soap residue, and allow them to dry completely before priming.
Tools and Materials for Wall Prep
Proper preparation is key to a professional-looking paint job. Ensure you have the right tools and materials on hand, such as a good quality primer, to achieve the best results. For more detailed advice on what to use and when, consult our house painting advice strategies for more.
Gathering the right tools and materials is crucial for successful wall preparation. This ensures a streamlined process, thoroughness, and contributes significantly to the final quality of your paint job. Having everything ready before you start helps avoid interruptions.
- Drop Cloths/Plastic Sheeting: Protects floors, furniture, and other surfaces from paint drips and dust.
- Painter’s Tape: Creates clean lines and protects trim, windows, and ceilings.
- Degreaser/Cleaner: Removes grease, grime, and dirt, ensuring proper paint adhesion.
- Sponge/Rags: For applying cleaning solutions and wiping down walls.
- Putty Knife/Scraper: Applies spackle, scrapes loose paint, or removes old caulk.
- Spackle/Joint Compound: Fills small holes, dents, and minor cracks in the wall surface.
- Sandpaper/Sanding Block: Smooths patched areas and abrades existing paint for better adhesion.
- Primer: Seals porous surfaces, blocks stains, and ensures uniform paint absorption. Learn more about paint primer use and when it’s essential.
- Utility Knife: Cuts painter’s tape, opens caulk tubes, or trims plastic sheeting.
- Caulk Gun and Caulk: Fills gaps along baseboards, trim, and doorframes.
- Safety Glasses and Gloves: Protects eyes and hands from dust, chemicals, and paint.
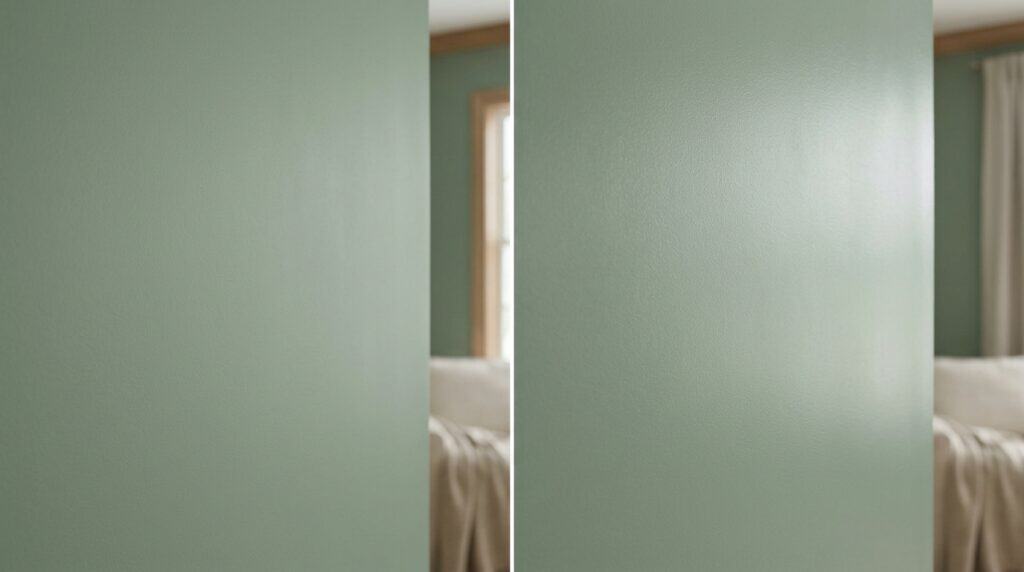
Achieving a Professional Paint Finish
Achieving a truly professional paint finish hinges almost entirely on how diligently you prep walls painting. Many homeowners underestimate the impact of thorough preparation, often rushing through or skipping crucial steps like cleaning, repairing, and priming. However, these foundational actions are what distinguish a mediocre paint job from one that looks impeccable and lasts for years.
Investing time and effort in proper wall preparation ensures that the paint adheres correctly, resulting in a smooth, even, and durable surface. This commitment to detail not only enhances the aesthetic appeal of your space but also protects your investment by extending the lifespan of the paint. Understanding the differences between various paint formulations, such as comparing latex and oil-based paints, is also key to selecting the right product for your project.
By focusing on meticulous preparation, you prevent common issues such as peeling, cracking, and uneven colour application. A well-prepared surface provides the ideal canvas for the paint, allowing its true colour and texture to shine through. This careful approach is particularly vital for interior painting projects, where smooth finishes are paramount.