Preparation: Key Pre-Painting Steps
Thorough preparation is crucial for a professional paint job, and understanding how to properly prep walls for painting ensures optimal adhesion and a smooth finish. This stage involves cleaning surfaces, repairing imperfections, and protecting surrounding areas.
Achieving a flawless and long-lasting paint finish hinges significantly on thorough preparation. This crucial stage often dictates the success of your entire project.
Skipping essential pre-painting steps can lead to peeling paint, uneven surfaces, and a finish that quickly deteriorates. Proper preparation ensures that the new paint adheres correctly and looks its best for years to come.
Essential Pre-Painting Tasks
Begin by thoroughly cleaning all surfaces to be painted, removing dirt, dust, grease, and grime. Inspect and repair any imperfections like holes or cracks, then sand these areas smooth. Lightly sand glossy surfaces to create better paint adhesion, and wipe down sanded areas to remove dust. Finally, protect adjacent surfaces with painter’s tape and drop cloths, and apply a suitable primer, especially on new drywall or stained surfaces. For more details on when to use primer, consult our guide on paint primer use for more.
Painting Process: Techniques & Tools
After thorough preparation, understanding the correct painting process, techniques, and tools is vital for a professional finish. This stage demands careful attention to detail and adherence to proven methods. Our house painting advice focuses on maximizing efficiency and quality for both interior and exterior projects.
Choosing the right application method and equipment significantly impacts the outcome and longevity of your paint job. Below, we compare common painting tools to help you decide which is best for your specific needs, providing valuable insights into each option. For larger projects, understanding the exterior paint cost can help with budgeting.
| Method/Tool | Pros | Cons |
|---|---|---|
| Brushes | Excellent for precision, cutting in, and detailed work; ideal for trim and small areas. | Slower coverage for large surfaces; can leave brush marks if not used correctly. |
| Rollers | Fast and efficient for large, flat surfaces like walls and ceilings; provides an even finish. | Less precise for edges and corners; can create texture if too much pressure is applied. |
| Paint Sprayers | Offers the fastest coverage and a smooth, factory-like finish; ideal for intricate surfaces and exteriors. | Requires extensive masking and preparation; overspray can be an issue; more expensive equipment. |
Maintaining Your Paint Job
Achieving a beautiful, lasting finish on your home involves not just the initial painting, but also diligent maintenance. Proper care can significantly extend the lifespan of your paintwork, saving you time and money on future touch-ups or repaints. For more on this, see our guide to paint primer use.
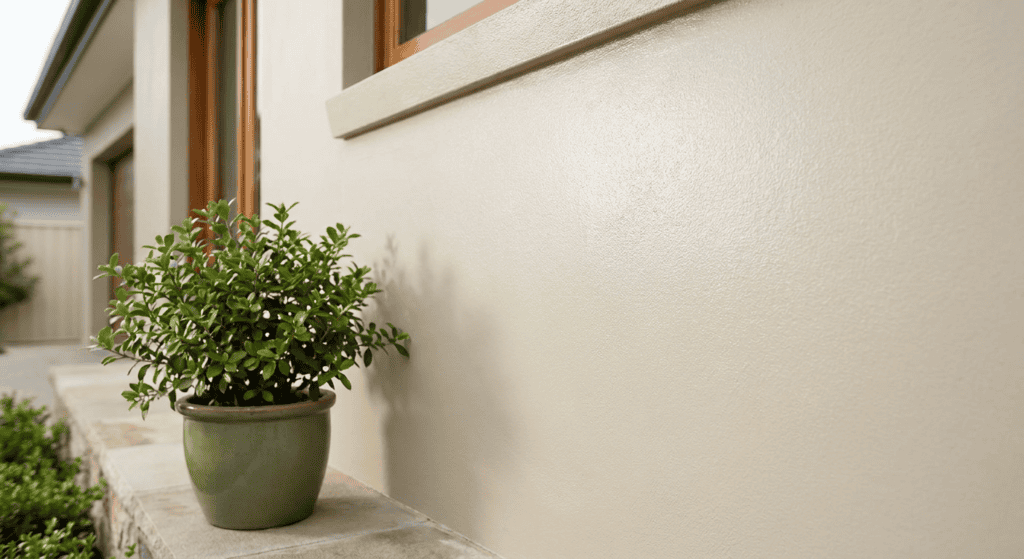
Even the highest quality paint job requires ongoing attention to withstand the elements. From regular cleaning to timely repairs, these strategies are crucial for preserving the aesthetic appeal and structural integrity of your home’s surfaces. If you’re considering updating your kitchen, explore our professional cabinet painting services to transform your space.
- Regular Cleaning. Wash painted surfaces periodically to remove dirt, grime, and mildew. Use a mild detergent and soft brush for exterior walls, and a damp cloth for interior surfaces.
- Inspect Annually. Conduct a thorough inspection of your paint job at least once a year. Look for signs of chipping, cracking, peeling, or fading, especially in areas exposed to harsh weather.
- Address Minor Damage Promptly. Small chips or cracks can quickly worsen if left untreated. Promptly sand, prime, and touch up these areas to prevent moisture intrusion and further deterioration.
- Protect from Moisture. Ensure gutters are clean and downspouts direct water away from the house foundation. Address any leaks around windows or doors to prevent water damage.
- Ventilate Properly. In interior spaces, especially kitchens and bathrooms, ensure adequate ventilation to minimize humidity. Excessive moisture can lead to blistering or peeling paint.
Your Guide to a Beautiful Home
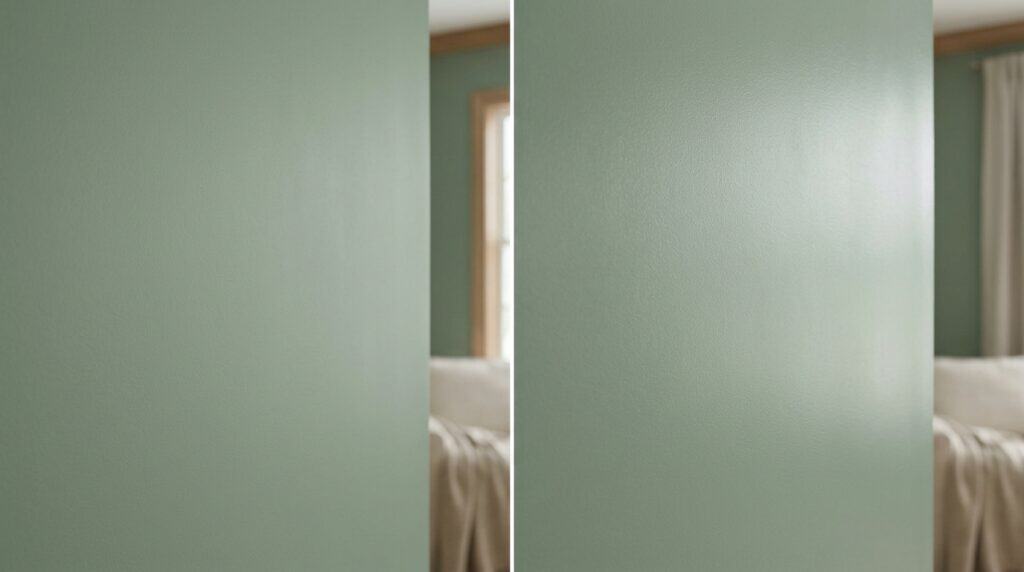
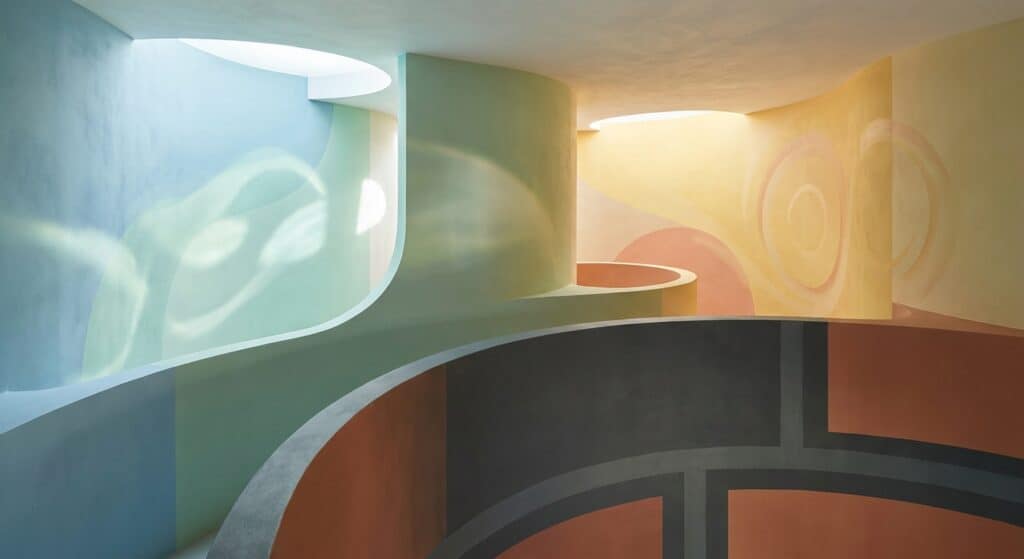
Choosing the right paint finish is crucial for both aesthetics and durability. For a comprehensive understanding of different paint types and their applications, explore our paint types comparison for more.
Choosing the right paint finish is crucial for both aesthetics and durability. For example, understanding the differences between matte and glossy finishes can help you make informed decisions for different rooms in your home. Explore paint finishes explained to learn more about how different sheens perform and where they are best applied.
Understanding the different types of paint available can help you make informed decisions for your project, ensuring durability and the desired aesthetic. For instance, knowing the difference between latex and oil-based paints is essential for proper application and longevity, so consult our latex vs oil paint guide to learn more.
Achieving a beautiful home through painting involves careful planning and execution. This guide provides essential advice, from initial color selection to detailed preparation and application techniques. Understanding these core principles equips you to approach your next painting project with confidence.
Applying these strategies leads to a beautiful, lasting finish. It enhances your home’s aesthetic and value. Expert house painting advice can transform your vision into reality, ensuring a successful home improvement, and you can learn more about how to choose house painters for your needs.