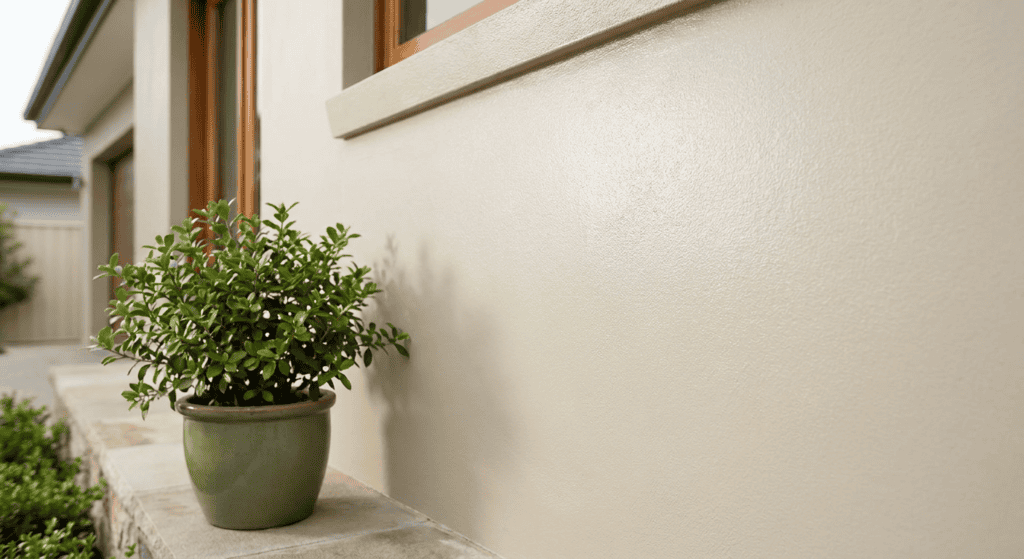
Choosing Colors and Finishes
Selecting the right paint colors and finishes is a critical part of your home painting checklist, influencing the mood and aesthetic of your space. Understanding the different types of paint finishes available can help you achieve the desired look and feel for each room. For instance, exploring various paint finishes explained can guide you toward the best choice for durability and appearance.
Selecting the right colors and finishes is a pivotal step, directly influencing your home’s aesthetic and overall ambiance. This process involves more than just picking shades; it’s about understanding how different hues and sheens interact with light, space, and existing decor to create your desired mood.
Selecting Your Perfect Color Palette
Choosing the ideal color palette involves harmonizing personal preference with design principles. Consider the fixed elements in your room, such as flooring, furniture, and artwork, as starting points. Always paint large swatches on different walls and observe them at various times of day to see how light affects the color. For larger projects, understanding the potential costs is also important; you can learn more about the factors influencing exterior paint cost.
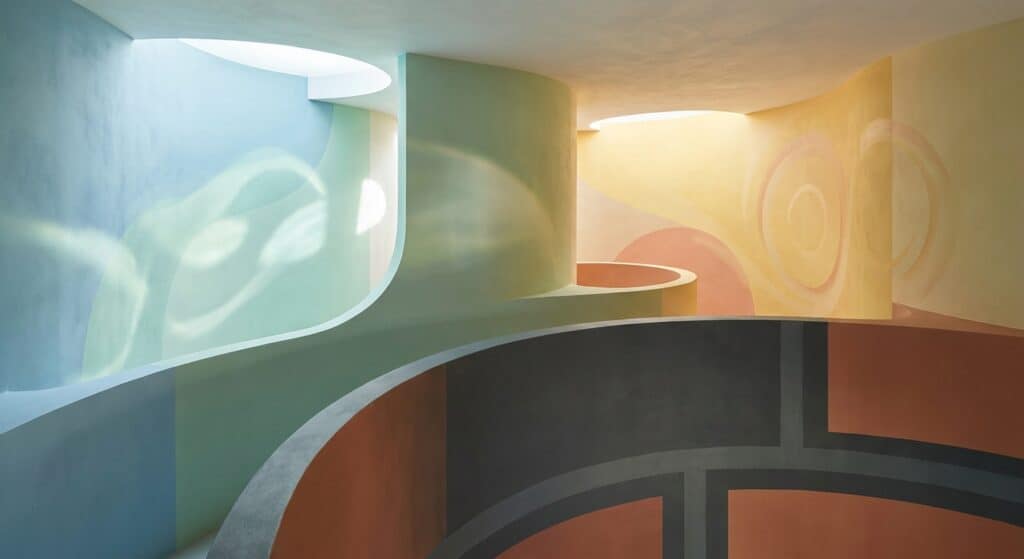
Understanding Paint Finishes and Their Impact
The paint finish you choose significantly affects both the appearance and durability of your painted surfaces. Each finish offers distinct characteristics suitable for different areas and desired effects. For example, matte/flat is ideal for low-traffic areas, while semi-gloss is perfect for kitchens and bathrooms where moisture and frequent cleaning are common. For a detailed breakdown of finishes, explore our guide to paint finishes, or consider professional cabinet painting services.
The Painting Process: What to Expect
Understanding the painting process is crucial for managing expectations and ensuring a smooth project. A comprehensive checklist helps homeowners track each stage, from initial preparations to the final inspection. Knowing what steps professional painters typically follow can provide peace of mind and allow for better communication. For a detailed breakdown of what to expect, consult our Edmonton house painting checklist for more.
Experienced painters adhere to a structured approach that prioritizes quality and efficiency. This systematic method ensures every detail is addressed, contributing to a flawless and durable finish.
- Initial Setup and Protection: This involves protecting furniture, floors, and surrounding areas. Items are moved, surfaces covered with drop cloths, and trim, windows, and fixtures masked off to prevent splatters.
- Surface Preparation: Proper surface preparation is paramount for a long-lasting paint job. This includes cleaning, sanding rough spots, patching holes or cracks, and applying primer for optimal adhesion.
- Paint Application: Painters apply paint using appropriate techniques for each surface, whether brushing, rolling, or spraying. Multiple coats are typically applied, with adequate drying time, to achieve desired depth and durability.
- Detailing and Touch-Ups: After main coats, the team performs detailed work, such as cutting in precise lines and addressing imperfections. This ensures a clean, professional appearance.
- Cleanup and Final Inspection: Once painting is complete, all protective coverings are removed, and the work area is thoroughly cleaned. A detailed inspection with the homeowner ensures complete satisfaction.
Why Professional Painting is Worth It: Your Checklist
Understanding the process can help you appreciate the value of professional painters. For instance, knowing how to properly prep walls for painting is a crucial first step that many DIYers overlook, leading to less-than-ideal results.
While a detailed Home Painting Checklist empowers you to tackle a project, professional painters offer unparalleled benefits that ensure a superior finish and long-lasting results. Their expertise can transform your home efficiently, often saving you time and preventing costly mistakes. For more on this, consult our house painting pros vs DIY guide.
Investing in professional painting means leveraging skilled hands and specialized equipment for a flawless application. Our team ensures every detail is meticulously handled, from thorough preparation to the final stroke, providing a smooth and vibrant surface that DIY efforts often struggle to achieve. For more insights on when to use primer, check out our guide on paint primer use for more.
- Quality Finish. Professional painters deliver smooth, even coats with crisp lines, avoiding common issues like drips, streaks, and uneven coverage.
- Efficiency and Speed. With years of experience, professionals complete projects much faster than a DIY approach, minimizing disruption to your daily life.
- Expert Advice. They can offer valuable insights on color selection, paint types, and finishes that best suit your home’s architecture and your personal style.
- Proper Preparation. Professionals understand the critical importance of surface preparation, ensuring proper cleaning, sanding, and priming for optimal paint adhesion and durability.
- Safety and Equipment. They come equipped with all necessary tools, including ladders, scaffolding, and safety gear, handling the project safely and effectively.
Final Thoughts on Your Home Painting Checklist
Successfully completing a painting project begins and ends with thorough planning. Utilizing a comprehensive Home Painting Checklist can transform a potentially daunting task into an organized and rewarding experience.
This systematic approach ensures every detail, from preparation to the final touches, is accounted for, contributing to a beautiful and lasting finish. Approaching your project with a detailed Home Painting Checklist provides confidence and clarity throughout the process, especially when considering paint primer use.