Common Painting Mistakes To Avoid
Many homeowners aim for a professional finish in DIY painting but often encounter common mistakes that compromise the final result. Understanding these pitfalls is crucial for preventing costly errors and ensuring your hard work pays off.
This section highlights key areas where DIY painters often stumble. By focusing on preparation, proper tools, and correct techniques, you can transform your space with confidence and achieve lasting beauty. For instance, understanding the factors that influence the exterior paint cost can help you budget effectively for your project.
Surface Preparation Errors
Poor surface preparation is among the most common mistakes to avoid for homeowners. Rushing this critical stage can lead to frustrating issues such as peeling paint, uneven finishes, and reduced durability, undermining the entire project.
Proper preparation ensures optimal paint adhesion and a smooth, professional look. Skipping steps like cleaning, sanding, or priming means the new paint won’t bind effectively, ultimately wasting time and effort.
Inadequate Cleaning
Before any painting begins, surfaces must be thoroughly cleaned to remove dirt, grease, dust, and grime. These contaminants create a barrier between the paint and the surface, preventing proper adhesion, which is why professional cabinet painting services are so important.
Skipping Sanding
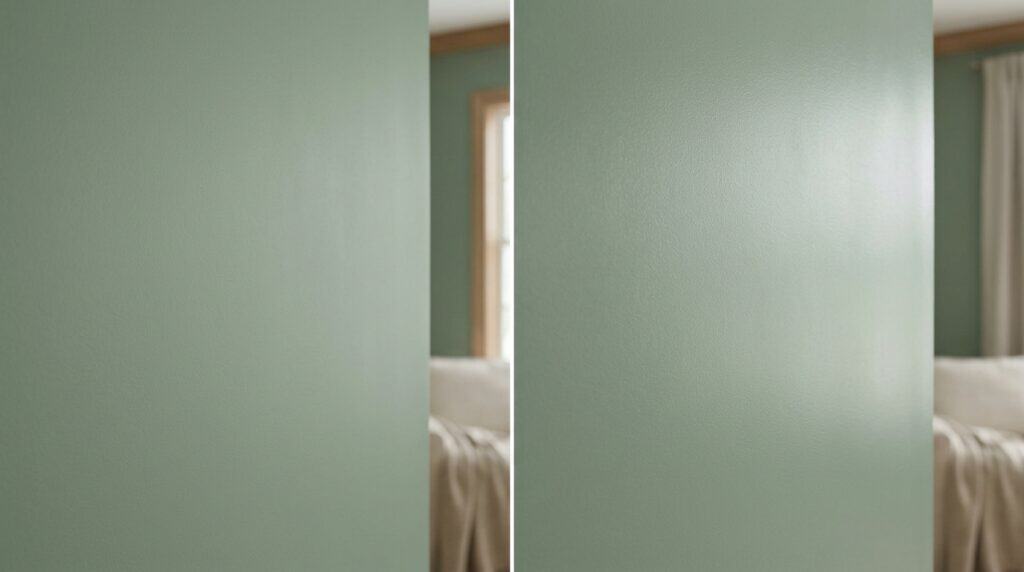
Sanding provides a smooth base and helps paint adhere better, especially on glossy surfaces or those with old, chipped paint. Neglecting to sand can result in a rough, uneven finish where new paint struggles to bond, which is why understanding paint primer use is so important.
Improper Priming
Primer creates a uniform surface for paint and enhances its adhesion and durability. Failing to use the correct primer for the surface type, or skipping it altogether, can lead to paint absorbing unevenly, requiring more coats, and eventually peeling. When selecting a painting company, consider a thorough comparison of their services, much like you would compare different primer types for your project, to ensure the best outcome.
Ignoring Repairs
Cracks, holes, and imperfections must be filled and smoothed before painting. Applying paint over damaged surfaces will highlight these flaws, making them even more noticeable and detracting from the final appearance. If you’re considering a larger project, understanding home renovation permits is crucial for a smooth process.
Choosing the Wrong Paint or Tools
One of the most common painting mistakes to avoid involves making poor choices regarding paint types and tools. The quality and suitability of your materials directly impact the final outcome, affecting both durability and appearance. Using the wrong paint for a specific surface or opting for low-quality brushes and rollers can lead to frustrating results and a less-than-professional finish.
Selecting the right materials is crucial for a successful painting project, ensuring the paint adheres properly, covers evenly, and withstands the test of time. Understanding the differences between various paint formulations and tool types can save you considerable time and effort in the long run. For instance, knowing when to use latex versus oil-based paint is fundamental to achieving durable and attractive results.
| Common Paint and Tool Selection Errors | Ideal Choices and Practices |
|---|---|
| Using interior paint for exterior surfaces | Select exterior-grade paint formulated for weather resistance. |
| Applying latex paint over oil-based primer without proper preparation | Use appropriate primers for adhesion between different paint bases. |
| Purchasing cheap, synthetic brushes for oil-based paints | Invest in natural bristle brushes for oil-based paints and high-quality synthetic ones for latex. |
| Using a roller with the wrong nap length for the surface texture | Match roller nap to surface: short for smooth, longer for textured. |
| Ignoring paint sheen for specific room functions (e.g., flat in bathrooms) | Choose appropriate sheens: semi-gloss for moisture-prone areas, eggshell for living spaces. |
Application Technique Blunders
Many common painting mistakes to avoid often stem from improper application techniques, which can significantly mar the final look of any project. These blunders include everything from incorrect brush strokes and inconsistent coverage to not allowing sufficient drying time between coats. Our team has assisted countless homeowners, seeing firsthand how crucial precise application is for achieving a flawless finish. For more on this, check out our house painting advice strategies for more.
Understanding and implementing proper techniques can prevent unsightly drips, streaks, and uneven colour distribution, ensuring your hard work yields professional-looking results.
- Improper Brush Strokes. Applying paint too thickly or using incorrect brush angles can lead to visible brush marks and uneven textures. Maintain a consistent pressure and angle for smooth, uniform strokes.
- Inconsistent Coverage. Skipping areas or applying paint too thinly results in patchy spots and requires extra coats, wasting both time and material. Ensure each pass overlaps slightly to achieve full, even coverage.
- Incorrect Drying Times. Rushing between coats without allowing adequate drying can cause the paint to peel, crack, or blend improperly, especially in humid conditions. Always follow the manufacturer’s recommended drying times to prevent these common painting mistakes to avoid.
Finalizing Your Project: Common Oversights
Many homeowners overlook crucial steps when preparing for a painting project, which can lead to less than ideal results. For instance, failing to properly prepare walls can result in paint not adhering correctly, or worse, peeling later on. To ensure a smooth and lasting finish, it’s essential to understand the best practices for wall preparation, as detailed in our prep walls for painting guide for more.
Even after the last coat of paint is applied, several critical steps remain to ensure a truly successful project. Overlooking these final details can lead to disappointing results and diminish the hard work you put in. Many common painting mistakes to avoid occur in the cleanup and curing phases, impacting the longevity and appearance of your fresh paint. For more on avoiding errors, see our guide to painting mistakes for more.
One of the most frequent errors is rushing the cleanup process or neglecting proper disposal of materials. Equally important is allowing adequate cure time for the paint, which differs significantly from dry-to-touch time. Understanding the differences between various paint types, such as latex versus oil, can also help in selecting the right product for your project’s needs and ensure proper application and curing.