Overview
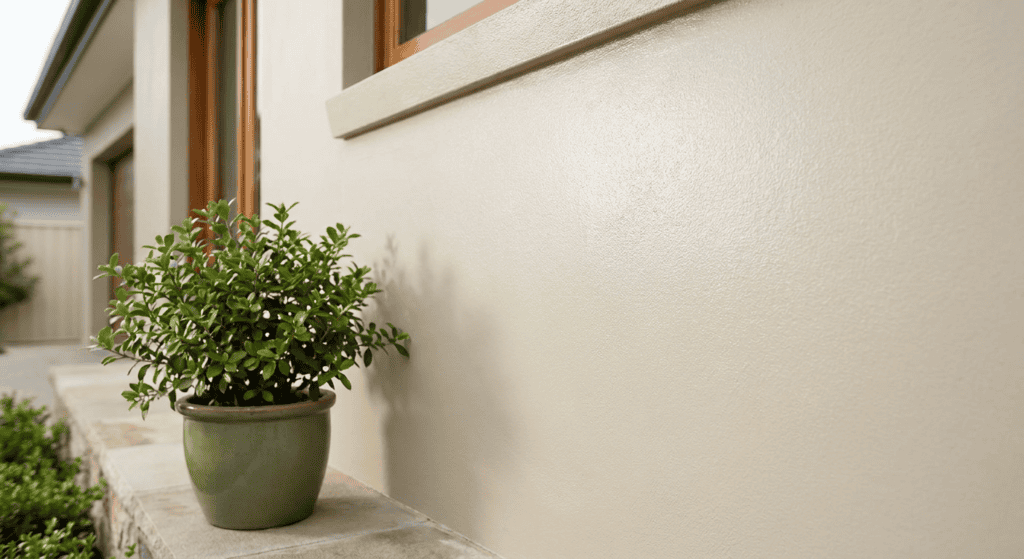
Curb appeal painting significantly enhances a home’s exterior aesthetic and market value, making a strong first impression. Late summer offers ideal conditions for these projects, balancing warm temperatures with lower humidity for optimal paint application and drying.
- Ideal Timing: Discover why late summer provides the perfect painting conditions for exterior projects, ensuring proper curing and longevity.
- Key Areas: Identify the most impactful areas to paint for maximum visual improvement, from front doors to trim.
- Preparation Steps: Learn essential exterior preparation techniques to ensure a smooth, durable finish that stands the test of time.
- Color Selection: Explore strategies for choosing paint colors that complement your home’s architecture and surroundings, boosting its overall appeal.
Why Late Summer is Ideal for Curb Appeal Painting
Late summer offers an ideal window for curb appeal painting projects, as the weather conditions are often perfect for exterior work. Consistent temperatures and lower humidity levels during this period ensure optimal paint adhesion and faster drying times, leading to a more durable and long-lasting finish. This makes it an excellent opportunity to enhance your home’s aesthetic before the cooler autumn months arrive.
Taking on exterior painting during late summer not only capitalizes on favorable weather but also prepares your home for seasonal changes, safeguarding it against potential moisture damage. For those considering a full transformation, understanding residential painting services can provide insight into the scope of work involved, and knowing the exterior paint cost is a crucial part of planning. By addressing your exterior painting needs now, you can enjoy a refreshed look that stands up to the elements and significantly boosts your property’s curb appeal.
Key Areas for Curb Appeal Painting
To significantly enhance your home’s exterior aesthetic, focusing on key areas for curb appeal painting is essential. These projects not only refresh the look of your property but also protect surfaces from the elements, contributing to long-term value. Considering the potential exterior paint cost can help you budget effectively for these improvements.

When planning your late summer projects, consider areas like your front door, garage door, and exterior trim and shutters. A fresh coat on your front door can make a welcoming statement, while painting your garage door revitalizes a large, prominent feature. Don’t underestimate the impact of crisp, clean trim and shutters, which frame your home and provide critical contrast, tying the whole look together with a professional finish.
Top Areas for Exterior Curb Appeal Painting Projects
Selecting the right paint colors is fundamental for any curb appeal painting project, as these choices significantly influence your home’s first impression and its long-term aesthetic. Thoughtful color selection ensures your home stands out beautifully and maintains its charm over time, increasing its overall value.
When considering exterior paint colors, it is crucial to balance personal preference with architectural style and neighborhood aesthetics. The impact of your exterior paint colours goes beyond immediate visual appeal, affecting how potential buyers perceive your property. Understanding the exterior paint cost can also be a significant factor in your planning.
Understanding Color Psychology and Home Styles
The colors you choose for your home’s exterior communicate a specific message and can dramatically enhance its curb appeal painting efforts. For instance, classic neutrals often convey sophistication, while bolder hues might reflect a more contemporary style. Consider your home’s architectural period; a Victorian home benefits from a different palette than a modern farmhouse. Understanding when to use paint primer can also impact the final look and longevity of your chosen colors.
Timeless vs. Trendy Color Palettes
Deciding between timeless and trendy color palettes is a key step in any curb appeal painting project. Timeless colors, such as warm grays, soft blues, and muted greens, offer enduring appeal and typically don’t fall out of style quickly. Trendy colors, while exciting and current, might require more frequent repainting to keep your home looking up-to-date. Understanding the various paint sheen guide for interior and exterior painting can also help in finalizing your decision, as can reviewing different painting companies comparison ideas before you begin.
Exterior Preparation for Late Summer Painting
Proper home renovation permits are crucial for any successful exterior project, especially for lasting curb appeal. The quality of your finish directly depends on the care taken during these preliminary steps. Overlooking essential preparation can lead to premature peeling or an uneven appearance, diminishing the aesthetic and protective benefits of your paint. Knowing the potential exterior paint cost can also help in budgeting for these essential steps.
A professional approach to residential painting begins long before the first brushstroke. Meticulous preparation is the foundation for a durable and attractive finish that truly enhances your home’s exterior. Our team understands this principle deeply.
Key Preparation Steps
- Inspect and Repair Surfaces: Thoroughly inspect all surfaces for damage like loose caulk, cracks, holes, or rotting wood. Address these issues before painting by filling holes, repairing cracks, replacing damaged wood, and recaulking to create a sound base.
- Clean Thoroughly: Remove dirt, mildew, and loose paint flakes that prevent new paint adhesion. Use a power washer or stiff brush with a cleaning solution; consider professional power washing services for deep cleaning.
- Scrape and Sand: Carefully scrape away all loose material from peeling or flaking paint. Sand the edges of remaining paint to feather them smoothly into the bare surface, preventing future peeling.
- Prime Bare Surfaces: Prime any bare wood, metal, or composite material. Primer provides a consistent surface for topcoat adhesion, enhances durability, and prevents bleed-through. For more on this, see our guide on paint primer use for more.
- Mask and Protect: Meticulously mask off windows, doors, and fixtures. Use drop cloths to protect landscaping, walkways, and driveways from paint splatters, ensuring clean lines and easier cleanup.
By diligently following these steps, homeowners ensure their late summer residential painting services project yields a beautiful and long-lasting result, significantly boosting their curb appeal.
Selecting Paint Colors for Enhanced Curb Appeal
While DIY projects can be tempting, hiring professionals for your curb appeal painting offers distinct advantages. Professional painters bring expertise in surface preparation, product selection, and application techniques, which are crucial for achieving optimal results. This specialized approach ensures that every detail contributes positively to your home’s exterior. For more on this, check out our house painting advice strategies for a lasting finish.
Engaging professional painters provides peace of mind, knowing the project will be completed efficiently and to a high standard. Their meticulous work not only enhances aesthetic appeal but also provides protection against the elements. This preserves your home’s integrity and ensures a lasting finish.
Maximizing Home Appeal Before Fall
As summer transitions to fall, investing in late summer home maintenance projects, especially those involving curb appeal painting, offers significant advantages. A fresh coat of paint not only enhances your home’s aesthetic appeal but also provides protection against the harsher weather conditions of the upcoming seasons. This proactive approach ensures your property looks its best and maintains its value.
Prioritizing exterior maintenance through professional residential painting services contributes significantly to long-term property value. A well-maintained exterior leaves a lasting positive impression, whether for personal enjoyment or potential resale. Consider how a professional curb appeal painting project can prepare your home for fall and elevate its overall presentation, and learn more about exterior paint cost to budget effectively. Understanding the differences between latex and oil paints can help you choose the best option for your project.